Showing posts with label DIYva Designs. Show all posts

Wednesday, August 11, 2010

Silken Thread 5th Anniversay Party!

Yesterday Nar and I ventured into Friendship Heights to a new Cupcake Coffee Shop called Frosting Cupcakery for an Anniversary Party for Silken Thread, an embroidery company in the DC Area. This very very cute husband and wife own the company and it's uh, pretty swanky, we love their work. What better way to customize a favor than to have your monogram stitched into it, or your child's blankie, (I could go on here. I would embroider my ASS if I could. I would put SDB for Sugar Damn Bailey...)

I HAVE A SWAG BAG TO MAIL TO THE FIRST PERSON TO LINK BACK TO THIS POST ON THEIR BLOG/PAGE, AND ONE FOR OUR FIRST FB FAN (FRIEND, REALLY)---- TO COMMENT ON IT.......

Here is my snapshot of the evening:

We got to meet the ladies from Hitched, they were SUPER sweet. 
Michelle Slaughter from Michelle Slaughter PR, as always, handing out the goodies. Hey wait......I'm talking about the Swag Bags, don't get excited. LOL!!

Oh, you KNOW I love sweets!!!!

Wednesday, May 26, 2010

A Tea Party:)!

The suprise party that we helped to plan last weekend went swell! I only managed to snap off a few pictures, but here are some of the elements of this '50's Style Tea Party' :

A Digital Invitation I created for her:) (This is just a screen shot so it's not as clear as it was)

(Above) A Birthday Banner, some cool flag garlands, and some hanging flower balls finished the look.

For favors, I made personalized tea-bags (Green Tea) and named it after the Birthday Lady:) the Party Date is in the middle, and the bottom says "Sweet. Refreshing" (Someone has already asked for a tutorial, so I will post one later.)


I made strawberry shortcakes, and soda-floats for dessert, and their menu included simple finger foods like sandwiches and shish-kabobs (that is spelled my way btw)----so it was simple yet sassy. I'm sooo sorry I was only there for set-up so I forgot to take pics after it was ALL put together. I'm TERRIBLE at that! But you get the idea right? Hehe!

And lastly, I made a Tea-Pot Cake, complete with a little 'Sugar Dish', some sugar squares, and one of the teabag favors.:) It was delish!

Wednesday, May 19, 2010

A Vintage Bachelor Party Invitation!

I created this vintage French Quarter New Orleans Bachelor Party Invitation for a guy in Louisiana who is about to get hitched. His friends who are hosting it simply LOVED the idea, and they are now building the party around this idea! ( I can't be there to plan it, but it sure would be nice!!)----- I think creating funky one of a kind invitations is one of the funnest things that I do. Yum!!


Friday, May 14, 2010

A Fabric Bib Necklace

So lately I have been drooling over this new bib necklace phenomenon. I love big jewelry! Especially on the summer when you want to show off those sun kissed shoulders (or when your shoulders are burnt to the point of such discomfort where you HAVE to rock a sleeveless.) A nice voluminous necklace just brings your outfit to life! I wanted to give Narine one of such pieces for her birthday that just passed, but I had a bit of a time crunch because I'm one of those people who decide what they want to get you about 24 hours before your special day. So I had to make it. I will show you how I did it, in case you want to craft yourself into oblivion for the next five or six hours. (or later when you get home from work lol). These will be available in our Etsy Shoppe by the end of the month so look out for one if you decide not to make it!

This is a typical bib necklace:
First step to making Nar's necklace was to gather all of the findings and fabric that I could find in my art studio. I wanted it to be black so that she could wear it with anything:
Then, I of course drew out the exact size and layout of the "bib" part of my necklace on paper, so I could figure out how much fabric I would need. I used two silk shirts that I had in my closet for no apparent reason, a pair of earrings that were made out of fabric, jewelry odds and ends from Michaels, and swarovski elements. I even dissected these old sandals that had some quality rhinestones on them, because the better quality the stones, the more polished it will look.

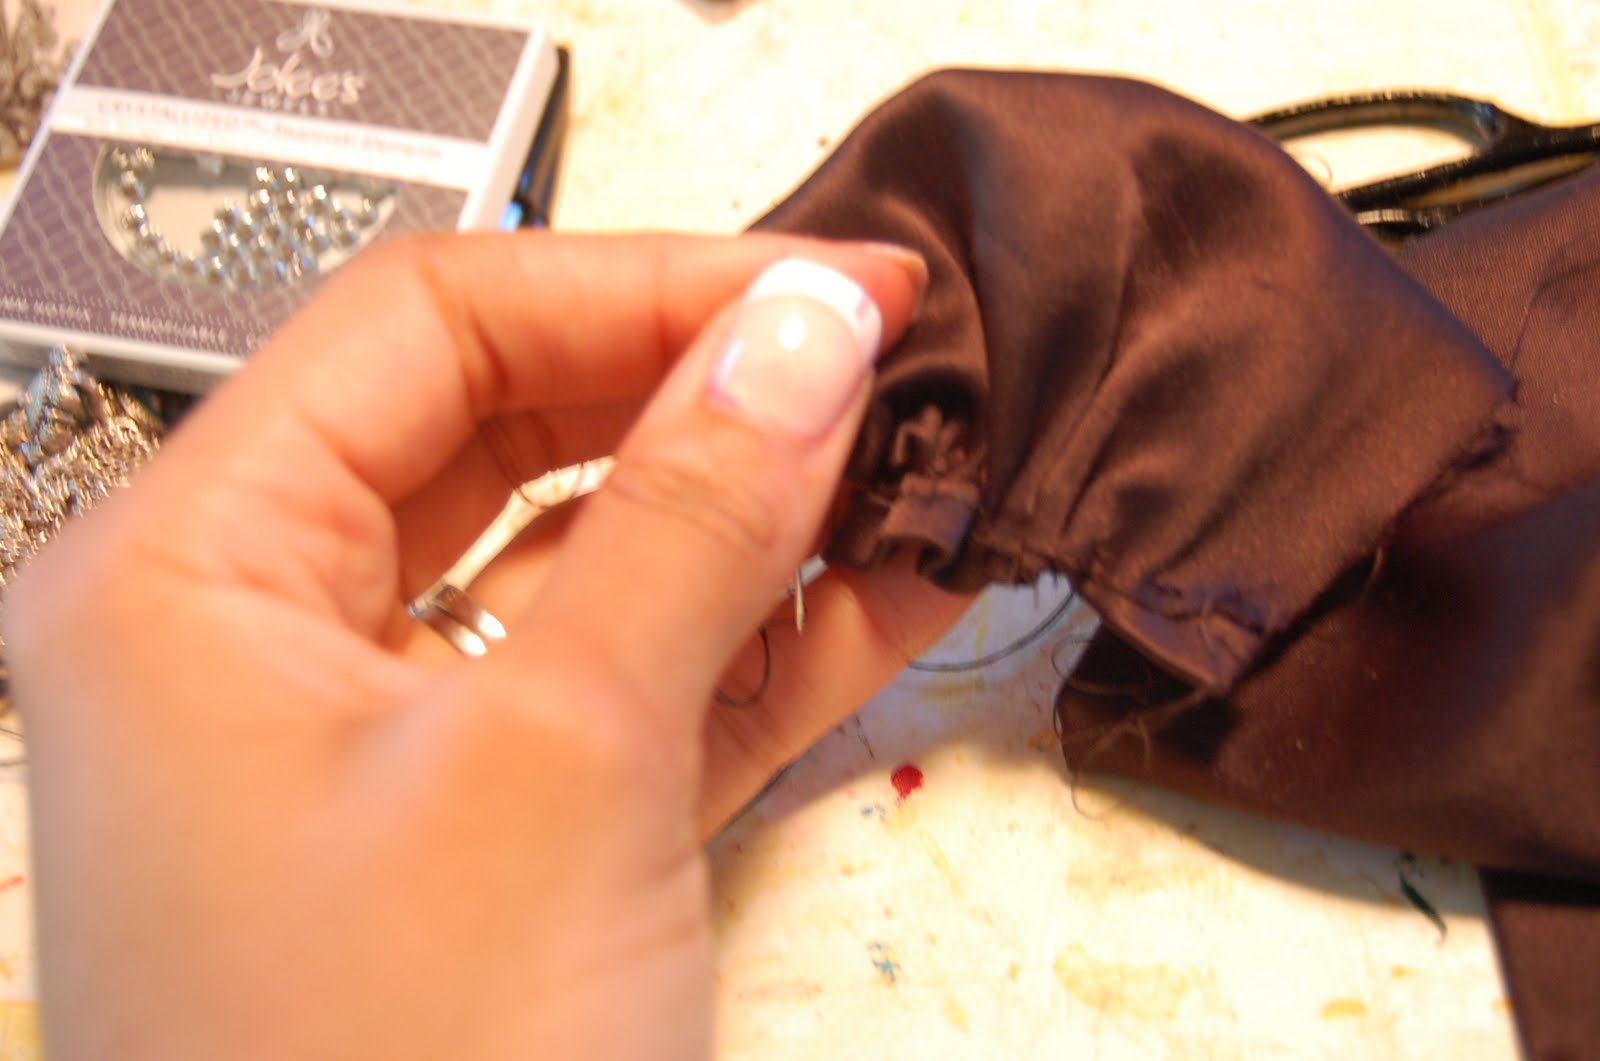
Next: I cut the fabric into several long strips , folded those strips in half. and stitched a loose seam along the edge. This gives you a smooth edge for the 'petals' of your flower. This is the easiest flower I can show you right now, although I used about three techniques to make her necklace. This is a starter flower so try this one first, but email me if you feel you are ready to learn a few more. (I do plan on posting them in the nearby future.)

When you have sewn the fabric along the edge, pull on the thread at one end while holding the other, in order to bunch the fabric up, and then shape it into the flower. You will want to sew the back of it together so that it stays put. You can add a gem in the center as I did here if you like.

After I was finished creating my flowers, this is how the necklace looked. You can leave some thread hanging for a grunge look, or keep it completely clean by cutting all of the excess thread. Then you will want to use a touch of clear nail polish to seal the threads where they fray. Just a dab ( like you do when you get a run in your pantyhose). You will arrange the flowers and then one by one, sew them together from the back. Add the two pieces that will connect around your neck to either side (OR you can use high quality ribbon as well)

Happy Bib-Necklace making! I think I'm going to make about 100 of these in various colors! lol. If you do one, please send me the pics!!

Wednesday, March 17, 2010

Kayla's Invitations

So here are the final invitations for a client of ours, Nilda, for her daughter Kayla's First Communion:
See the original illustrations that I had Nilda choose from for this occasion at This Post

Friday, March 12, 2010

Hand-Painted Purses!

It's FRIDAY!!! Before I post my usual fashion fajita for you guys I wanted to show you what I've been doing the last two days. My hubby and I had been brewing on an idea to put art on purses for a while now, and I finally sat down to do it. Not actually trying whatever I have on my mind in the studio can actually feel like my art-arteries are being clogged and I will explode if I don't get it out of my system. I think these are going in the Etsy shop that we will have up and running in the next few weeks. Nar and I have been super busy meeting with clients, working on our website, and keeping up with this blog, so stay tuned we have some GREAT stuff coming your way, and awesomeness is our one word mission. Muah!

So I found a pick of you know who: GAGA! lol.  Did a basic sketch onto a white leather purse....


This is how it came out:


Then I took this green leather wallet and drew a purdy little face on it (check out the DIYva Designs logo I carved out of rubber to make a stamp. hehe)----

Wednesday, March 3, 2010

Custom Invitations for Kayla Michele:)

Hey loves! I have been really busy the last few days getting my vehicles running properly, and working on some client samples for a few upcoming events. So I found out that the Miguel Perdomo/Isa Fuller event will be re-scheduled ---as I was about to get dressed lol---so I will keep everyone posted about that.

What have YOU been up to? Want to check out my latest art creation? (I have two awesome portraits to show you soon too!)---Told you I've been busy.

These are some samples I created for Nilda, who's amazing daughter Kayla is having her first Holy Communion soon!
 
She chose the third option. I'll post these again once they are all painted and mounted and ready to go~!

Our 2013 Catalog!