Showing posts with label DIY. Show all posts

Monday, December 2, 2013

Rustic Winter Centerpieces with Sugar


Hello! :) It is that time of year! Eggnog, Pine Trees (or plastic wanna-bees like mine) --- and Holiday Decor!! Recently Erika and I made our way down to the local wholesaler from whom I purchase some of my wedding/ event decor needs. It was freezing in the cooler, but who cares when you are picking out some flowers?!

This arrangement is a sample for one of the corporate holiday parties that I am designing, but it can really be used to spruce up your boring dinner table this holiday season---not assuming it's boring but if you're anything like me there is a fruit bowl and some crumbs for everyday ambiance.

Anyhoo. Anyone who knows me is aware that I am completely self taught, so floral arranging is really just an art to me; I like things to be very organic and loose, but you can play around with your form. You may find that you hate arranging flowers, or completely love it! The hardest part; knowing how much of what to buy!

Here is what I brought:
Spray Roses, White Roses, Hydrangea

Dusty Miller, Brunia, Kochia (Silver) 

Some type of damn berries, Wheat, Dried Pomegranates, Dried Lotus Pods


These Bark containers fit the rustic theme I was going for, and the floral foam, once very wet, will hold the flowers in place exactly where I want them and allow me to use less flowers. 
If you have time, it makes sense to unwrap everything, and snip all of the ends, and put all of your flowers in fresh cool water--- (warm water for roses if you want them to open up fast like an easy date. hehe)

As much as I love Hydrangea, they have to be in water 100% of the time, or they will wither fast. I do not usually put them in floral foam because they die fast this way, so if you use them, skip the foam!


I start with my fillers around the edges, then build it through the center, and go back to add more fillers. OR, whatever you plan to take up the most space with, start there. 


If you can see past my chipped nails (hey I am an artiste!) --- you will see that I am massaging my Dusty Miller into a better shape, these little hairy leaves feel so good! 


No foam necessary for these little vases; they are small enough to hold the shape of the flowers for me! :) 


Bam. 

A little baby one!


This is my little Jayda-Bear!!! 

Wednesday, November 6, 2013

DIYva Dish: Wedding Jewels

There are a lot of cool DIY projects out there, especially those involving jewels.  I am big on making my own costume jewelry, it's more special when it's personalized and can be inexpensive to make too.  One of my favorite DIY projects is to make cocktail rings out of thrifted earrings. One time, I scored some vintage YSL clip-ons for about $4. It definitely made my day! I have yet to venture out into the bracelet world, but scouring Etsy has motivated me to find some time to do a project.  Why not make one for your wedding or bridesmaids gifts?  To get started you can buy bracelet blanks from here and add what ever tickles your fancy with hot glue or craft glue like E6000 (my fav!). Let these inspire you.

~ Stay Sweet


Make heirloom bracelets out of old earrings
1. Vintage earrings for the vintage bride

red vintage bingo piece bracelet ... lucky jewelry, vintage game pieces, cabochon bracelet, gambling grandma
2. Bingo chips for the whimsical bride

mla102754_aug07_bracelet.jpg
3. Glass beads for the destination bride

1 / 2 / 3

Tuesday, August 13, 2013

DIYva Dish: Sweetheart Chair Decor

The sweetheart table is the quintessential "just became one" statement at your reception, so it should also be included in your wedding design style. Make a statement with your sweetheart table chairs, by DIYing your chair decor making it personal. You can either stay within your wedding design or make it unique and completely out of the box.  Just make it yours...the two of yours.

~ Stay Sweet

Reception Décor
1. String apples together and add a tag

Sweetheart Table
2. Paint wood slates with chalkboard paint

Sweetheart Table
3. Sprinkle glitter on paper cones and glue together

1/2/3

Tuesday, February 14, 2012

Happy Valentines Day from DIYva Designs!

via Martha Stewart

It's that time of year again! Time for flowers, chocolates, handmade gifts and super secret surprises. All of us here at DIYva Designs hope you have a very special day filled with love! And if you haven't come up with that 'little something' for someone you care about - here's a quick and easy Valentine tutorial for you to try!

Step One: Cut a heart out of the paper of your choice. We recommend paper with a patterned side and a plain white side. Then write your own personal message on the side of your choice.

Step Two: Fold the sides down so that they overlap in the center.

Step Three: Fold the top down so it also covers any open space in the center.

Step Four: Fold the pointy side up to complete the envelope look.

Step Five: Seal the envelope with a sticker of your choice and present it to that special someone!

Tuesday, January 10, 2012

Fun & Unique Boutonnieres

via priorengagementblog

As the new year continues, many of you out there are planning away for your big day. So how about having your future hubby to make a statement with his lapel? Sound fun? Then join in on this new and fun trend of incorporating your man’s favorite things/hobbies into his boutonniere! You can always DIY it and make your own with his favorite action figure, a simple heart, or even toy car. Don’t think you can pull it off? Then go here and chose one that best fits your hubby’s interests. It's just one more way to incorporate a little bit of your personality into the wedding.

Tuesday, October 26, 2010

DIY Chocolate!!

I'm convinced that DIYva Designs has single handedly made the DIY phenomenon popular! OK, maybe that's a reach, but when did DIY become so huge?! Lately, everyone is advocating the DIY approach and we LOVE it!

The latest and most relevant DIY fad I'm obsessed with is chocolate! Since the holidays are coming up and we'll all start shopping for creative gifts and consuming tons of chocolate, I thought this one would be a good idea to blog about. Brought to you by Chocri, I am happy to introduce the customized chocolate bar! Just log onto their site, pick your canvas / choice of chocolate and add ingredients! You can add nuts, spices and even decor like real gold flakes to your chocolate bar.
Not so creative? It's ok, because there's a recommendation page, that gives you great ideas on how to create a delicious bar! Here's a sample!

+ Milk and White Chocolate
+ Mango Cubes
+ Chives
+ Real Gold Flakes
+ Walnuts

Need a better reason to indulge? Well, how's this? "All customized chocolate bars are hand-made with fair trade, organic chocolate from Belgium. Our dark chocolate is vegan, and all chocolate is kosher certified. Also, we donate 1% of every purchase to the charity DIV Kinder, an organization that supports kids on the Ivory Coast, where a majority of cocoa comes from. " (Directly from Chocri's website)

So go on, get creative, and make yourself (or someone you like enough) a delicious chocolate bar!

Tuesday, August 31, 2010

D.I.Y. Bridal Workshop!


If you haven't yet heard, D.I.Y.va Designs is on the go again! Immediately following the Launch party, we started planning our first DIY Bridal Workshop, due to the amount of inquiries that we receive and what DIY Planning is all about.

Since so many brides today are opting to get creative and craft their own weddings, we decided to help! We have put together an extensive, 5 hour workshop which will provide our guests with every tidbit they ever wanted to know about planning their own wedding. We will include tips on how to save time and money, how to properly negotiate with vendors, which vendors you actually need, have a mini-makeover session, a hands-on craft session, and of course refreshments! Swag bags will also be included and will be once again full of hand crafted goods, plus coupons from some of our favorite DIY friendly businesses!

See all the details and register by visiting our event site http://diybrides.eventbrite.com/ , and as always, contact us if you have any questions!!

Friday, May 14, 2010

A Fabric Bib Necklace

So lately I have been drooling over this new bib necklace phenomenon. I love big jewelry! Especially on the summer when you want to show off those sun kissed shoulders (or when your shoulders are burnt to the point of such discomfort where you HAVE to rock a sleeveless.) A nice voluminous necklace just brings your outfit to life! I wanted to give Narine one of such pieces for her birthday that just passed, but I had a bit of a time crunch because I'm one of those people who decide what they want to get you about 24 hours before your special day. So I had to make it. I will show you how I did it, in case you want to craft yourself into oblivion for the next five or six hours. (or later when you get home from work lol). These will be available in our Etsy Shoppe by the end of the month so look out for one if you decide not to make it!

This is a typical bib necklace:
First step to making Nar's necklace was to gather all of the findings and fabric that I could find in my art studio. I wanted it to be black so that she could wear it with anything:
Then, I of course drew out the exact size and layout of the "bib" part of my necklace on paper, so I could figure out how much fabric I would need. I used two silk shirts that I had in my closet for no apparent reason, a pair of earrings that were made out of fabric, jewelry odds and ends from Michaels, and swarovski elements. I even dissected these old sandals that had some quality rhinestones on them, because the better quality the stones, the more polished it will look.

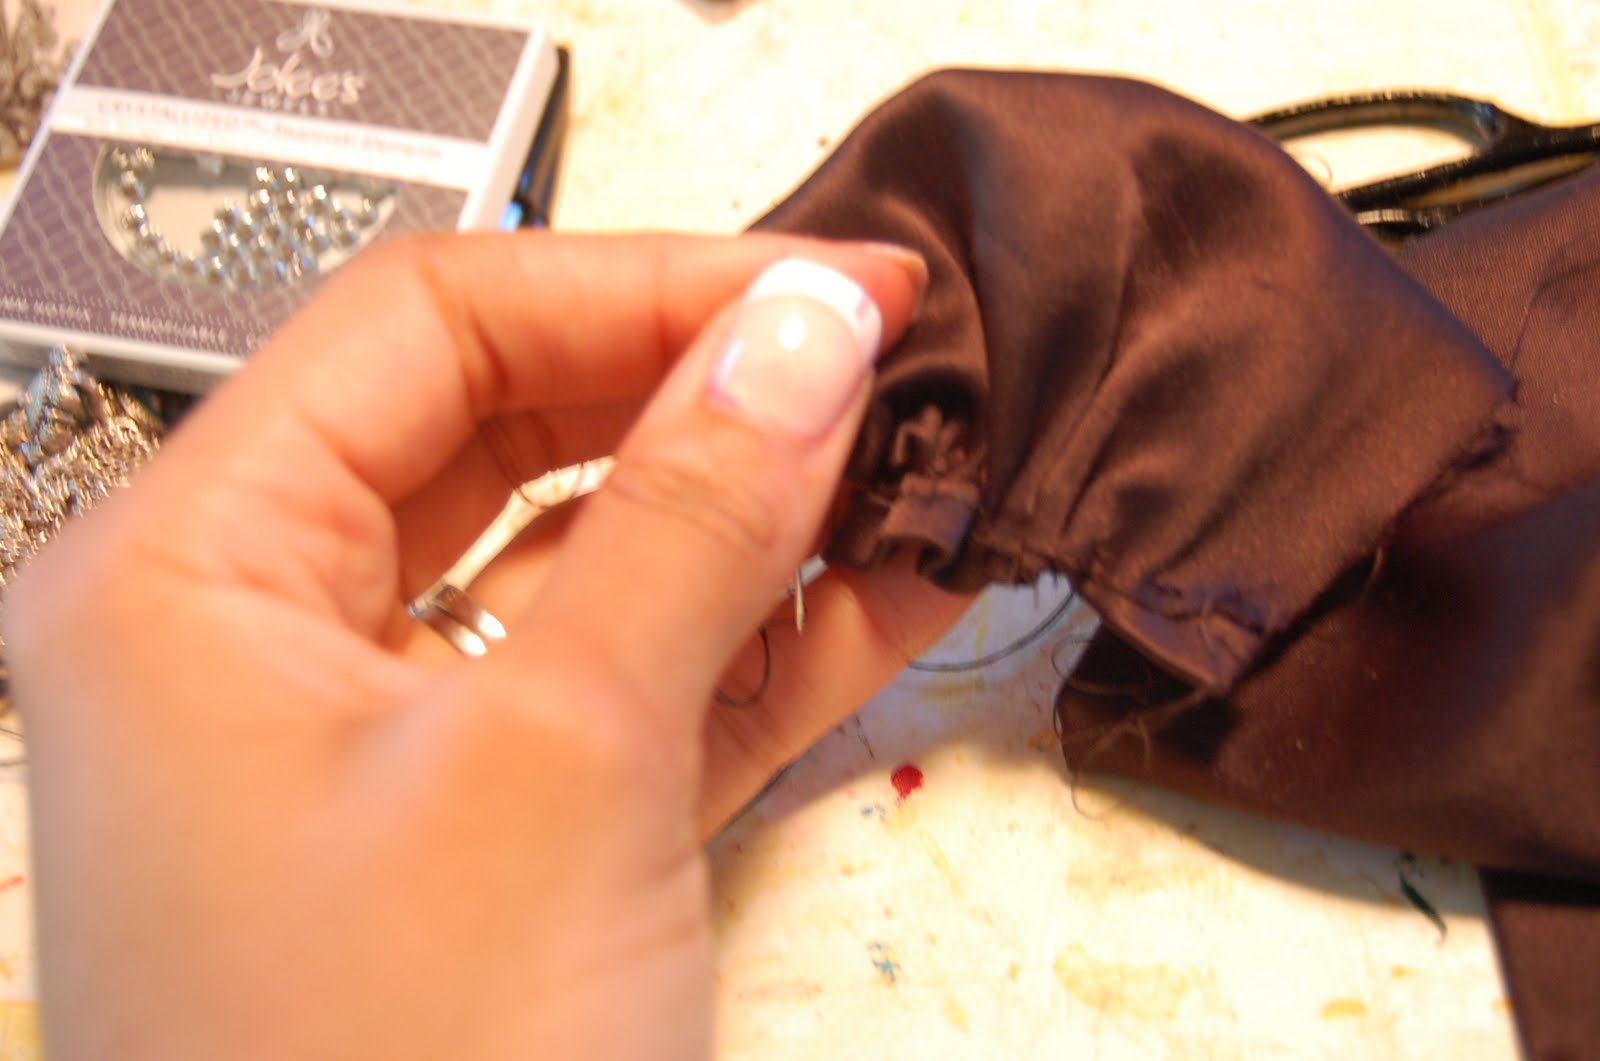
Next: I cut the fabric into several long strips , folded those strips in half. and stitched a loose seam along the edge. This gives you a smooth edge for the 'petals' of your flower. This is the easiest flower I can show you right now, although I used about three techniques to make her necklace. This is a starter flower so try this one first, but email me if you feel you are ready to learn a few more. (I do plan on posting them in the nearby future.)

When you have sewn the fabric along the edge, pull on the thread at one end while holding the other, in order to bunch the fabric up, and then shape it into the flower. You will want to sew the back of it together so that it stays put. You can add a gem in the center as I did here if you like.

After I was finished creating my flowers, this is how the necklace looked. You can leave some thread hanging for a grunge look, or keep it completely clean by cutting all of the excess thread. Then you will want to use a touch of clear nail polish to seal the threads where they fray. Just a dab ( like you do when you get a run in your pantyhose). You will arrange the flowers and then one by one, sew them together from the back. Add the two pieces that will connect around your neck to either side (OR you can use high quality ribbon as well)

Happy Bib-Necklace making! I think I'm going to make about 100 of these in various colors! lol. If you do one, please send me the pics!!

Sunday, February 14, 2010

Sprinkles Cupcakes, Eat Your Heart Out!

Someone once told me that anything it its miniature version is automatically considered cute. This statement proves especially true for one of my favorite treats...cupcakes!! Ever since the cupcake craze started, I've been on the front of the train, trying new recipes, decorating ideas and trying to avoid paying $4 a cupcake by doing it myself! I really hope this fad never ends because I want a cupcake bar at my bridal shower!! Yea, I'm one of those girls. The ones that plan their weddings before they're actually scheduled...so what?! Check out my Valentine's Day cupcakes with chocolate decorations I made myself!

First, I melted chocolate in a double boiler, and piped out shapes of hearts, x's and o's and any other thing I could manage to "draw". Then I put the chocolate in the freezer and 5 minutes later, voila!


Thursday, February 4, 2010

Train Ticket Wedding Invitations!

Gooooood Thursday to ya! Thursday is like the dingle-berry of the week to me; it's not quite Friday so you try very hard to dispose of it but it moves slow and just sort of lingers there. Anyhoo I wanted to give you something to make your day go a little faster!! My wedding invitations!

So I told you I had three weeks to plan, design, and execute--- (and be incredibly hot). We got a chance to work with the uber sexy and intelligent Gino Fillipone of Ultimate USA Weddings. (He is an officiant and planner)--- The dude has an office at the top of the Empire State Building ---( I was sooo about to call it the Eiffel Tower lmao)----Our first option for a location was the Apollo Theater in Harlem, since it was sooooo old school New York / Hollywood / My Weird Obsession With Dorothy Dandridge----so I made some invitations that looked like vintage theater tickets. After looking desperately for someone to letterpress my design for a reasonable price (I was getting quotes at $10.00 + per invite x the 60 invitations I wanted but they needed at least a week.)----It turned out to be good luck because the network then told me that they weren't able to book the Apollo anyway, so my theater tickets would have been a waste of money. I found out they were using the Grand Central Terminal and I was like, DUH! Train tickets! So this is what I created right on my computer and printed at home, on photo paper so they were glossy. LOVED it! Especially when I slid each 'ticket' into an awesome brown string envelope and created a vintage date stamp with stuff I had around the house lol.

Now, you will notice that my R.S.V.P info is a wedding website. Any clients that we speak to in regards to R.S.V.P gets the same suggestion from our team: USE A WEDDING/EVENT WEBSITE. Its free, whereas you dish out a silly amount of money on R.S.V.P stamps that might not even get returned! (As for me; I had three weeks to rock and roll. lol.)

Tuesday, February 2, 2010

DIYva Stamps!

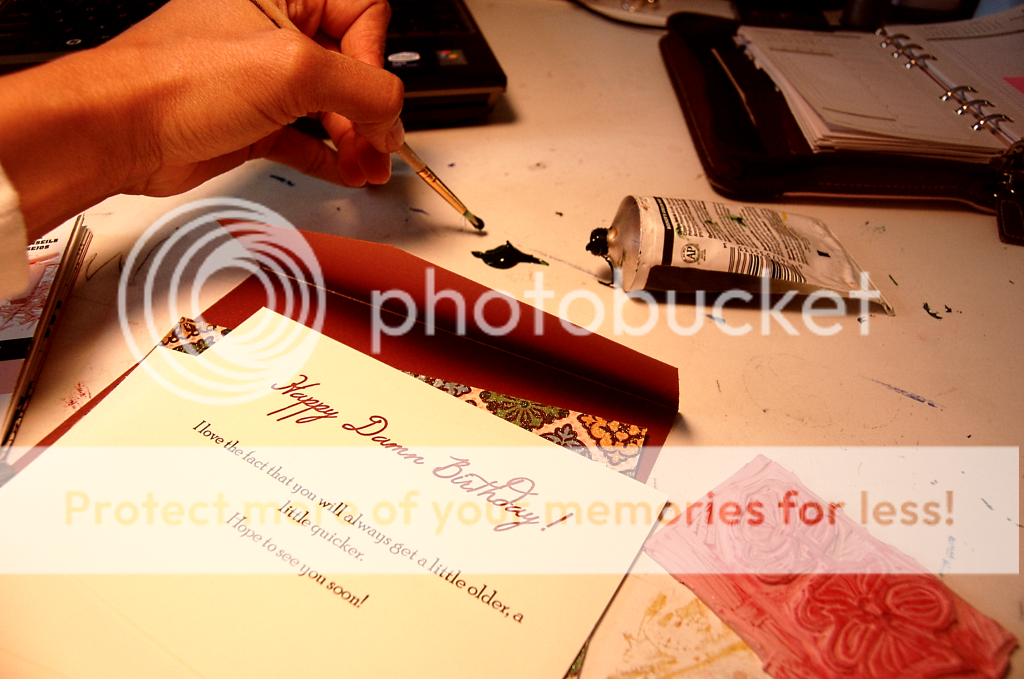
I am busy as hell right now: planning an event for a client, -----(a Chick Baby Shower which I can't WAIT to show you my plans for)----amongst a million other things but it's a GOOD type of busy. Despite the fact, I ALWAYS have time to cram a craft down your throat! I found out how to make my own stamp last week and I'm waaaaaay too excited. I owe life-long obeisance to the gods of art for this find of mine. Ok so I like to make cards and invitations and yadayada. (I say yadayada often enough to make anyone question my intelligence but I assure you it is because I talk the way I type: WAY too fast) ---anyway I found that stamps are not only very generic and obvious, but expensive for no real reason. After a wedding last year I was making a scrapbook for the bride, and I dished out a heart-attack inducing $50.00 on stamp paraphernalia. Eew. So this year, I'm carving my own. You heard me. CARVING my own. (Me + Sharp Object. Cringe now.)

What you do is you order a Stamp Making Kit here (it is called the Speedy-Carve by Speedball), and you simply use the scalpel thing-ker-bob that comes in the kit to carve whatever your heart desires into the rubber mat. You trace (the package comes with some basic shapes and flowers etc.)----or hand sketch what you like, then carve out (slowly; this thing is sharp and hard to maneuver)---the background so that only the shape you want the stamp to be is elevated. I am sorry I didn't take pictures of my original sketch, and me carving the darn stamp: I get into my zone. Won't happen again!

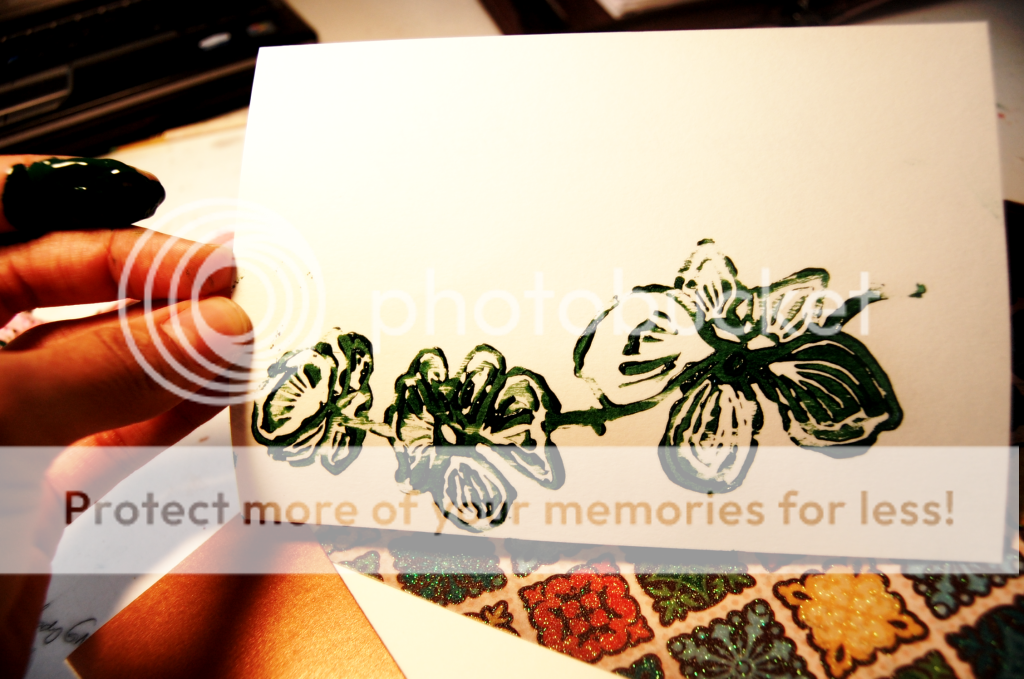
I created some orchids (see below) which I plan to make trees, other flowers, logos, etc. and stamp my way to a new soul. Can you imagine? I think I'm going to use these on business cards for a totally unique and rustic look, personalized Thank You and Birthday Cards, and it is original artwork! What do you think? As you can see, I think paint-trays are soooo over-rated. just put a good dollop of paint in the table and stick your finger in it like I did. (Use paintbrushes for no other reason than to look good on your blog.)
Oh yeah, uh, COMMENT Damnit. LOL.

Our 2013 Catalog!